Pedal Replacement
About
This procedure provides instruction to remove and install the Pedals.
The pedals are dual-sided SPD® compatible pedal attached to oversized crank arms utilizing the patented Morse taper connections.
Available Movies
|
|
Pedal Replacement tutorial video. |
Specifications
Specialized Tools
| Tool | Part Number | Qty | |
|---|---|---|---|
| Crank Extractor (used to remove pedal) |

|
X-Tools Crank Extractor)(1) or similar |
1 |
Procedure
Review entire procedure before starting.
|
|
CAUTION: Be careful not to scratch or dent bike with tools during the removal/installation process. |
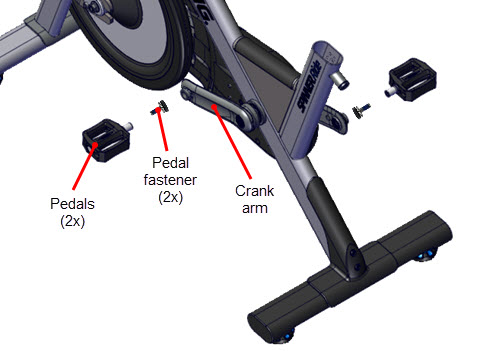
- Position the crank arm and right pedal to the 12 o'clock position.
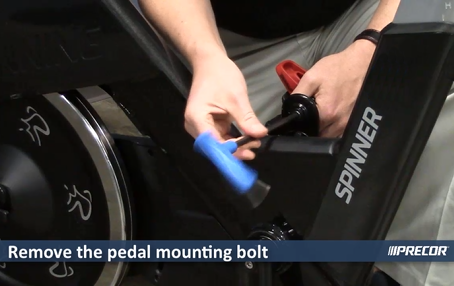
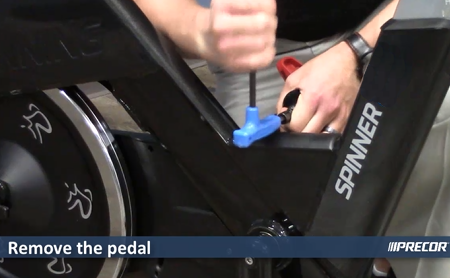
- Remove the pedal mounting bolt using an 8 mm hex key. Retain part(s) and/or fastener(s) for installation.
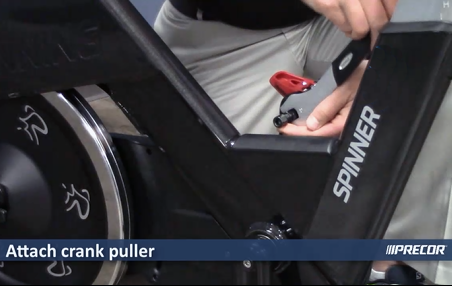
- Use a crank puller (recommended PN X-Tools Crank Extractor or similar tool) to press the pedal out of the crank arm and remove. Attach the crank extractor to the crank arm using a 15 mm wrench then use an 8 mm hex key to press the pedal out of the crank arm.
- Repeat steps to remove the left pedal.
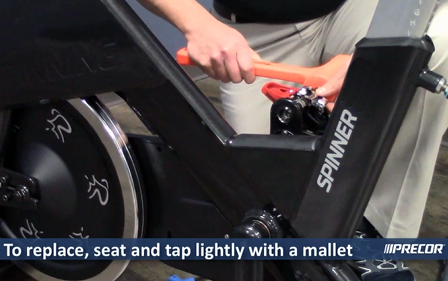
- Insert the right pedal into the right crank arm. Seat the pedal by using a rubber mallet to lightly tap the center of the pedal into the crank arm.
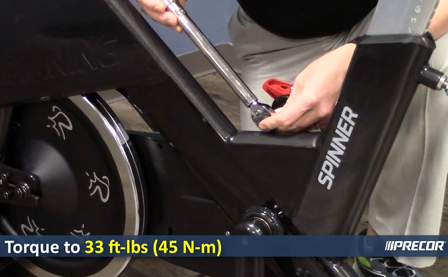
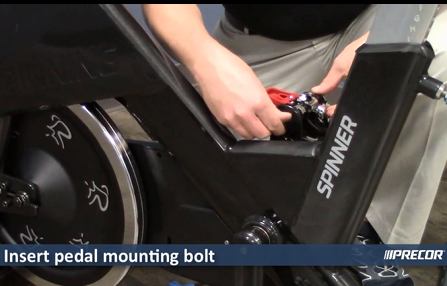
- Secure pedal with the pedal mounting bolt using an 8 mm hex key, torque to 33 ft-lb (45 N•m).
-
- Repeat installation steps to install the left pedal.
- Verify the bike operation per Operation Verification Checklist and return to service
Removal Instructions
Installation instructions:
See Also