Rear Stabilizer Replacement
About
This procedure provides instruction to remove and install the Rear Stabilizer.
Specifications
Procedure
Review entire procedure before starting.
Removal Instructions
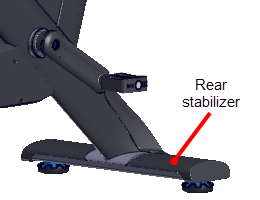
- Place a soft mat under the bike frame and stand the bike frame on its rear resting on the front stabilizer and handlebar.
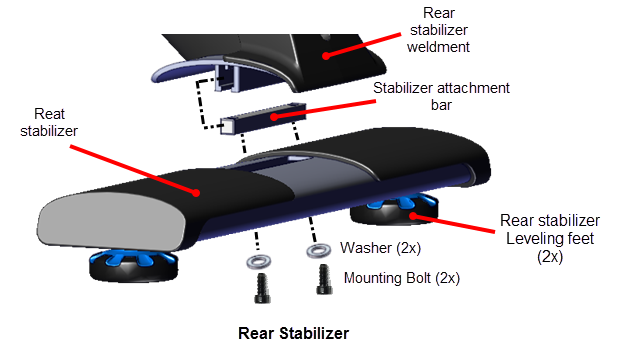
- Remove the two rear stabilizer leveling feet (2x). Retain stabilizer leveling feet for installation.
- Remove the rear stabilizer by removing the two 6 mm hex key mounting bolts (2x) and washers (2x). Retain part(s) and/or fastener(s) for installation.
|
|
NOTE: The stabilizer attachment bar can slide out of the weldment mounting bracket. Make sure the attachment bar remains in position and not lost between removal and installation. |
Installation Instructions
- Center the stabilizer attachment bar into the rear stabilizer weldment bracket.
- Position the rear stabilizer onto the frame weldment and secure using the two 6 mm hex key stabilizer mounting bolts (2x) and washers (2x) , torque to 15.6 ft-lbs (21 N•m).
|
|
CAUTION: Do not over tighten fasteners. The bolt heads can snap off if over tightened. |
- Install the two rear stabilizer leveling feet.
- Return bike to the upright position.
- Make sure the bike is level and setting firmly on the floor, see Bike Leveling Adjustment.
- Verify bike operation per the Operation Verification Checklist and return to service.
See Also